Speed-up your PC with FREE Advanced SystemCare app & enhance your online security.
Is your computer getting slow when you have multiple Chrome tabs open? Or when you run several applications at a time? One big reason for this slowness is that today’s PCs don’t have enough RAM. RAM is the quick-access memory your computer uses for active tasks. When a PC runs out of RAM, it has to use other storage options like a hard drive (HDD) or solid-state drive (SSD) to store extra data but these options are much slower than RAM, which causes the computer to slow down as it takes more time to process information.
To fix this, you can add more RAM to your PC, so it doesn’t have to rely on slower storage. Don’t worry, adding or upgrading RAM is a pretty easy process, as we’ll explain in this guide.
We also have a full guide on how to check how much RAM do you have, it’s model, and other parameters.
And if you’re experiencing slow PC – clearing your Delivery Optimization Cache might help.
Why Should you Upgrade your RAM?
Upgrading RAM can improve your computer’s performance and here’s why you might want to do it:
- Better Performance and Productivity: Adding more RAM makes your computer work faster. It can handle many tasks at once, run applications more smoothly, and access data more quickly.
- Compatibility with Software: Extra RAM helps your computer handle new software and updates. This means your computer stays useful for a longer time.
- Cost-Effective: It’s a budget-friendly way to improve your computer’s performance as buying more RAM is often cheaper than getting a new computer.
- Improved Gaming: If you’re into gaming, extra RAM supports a better gaming experience. Games run smoothly with less lag after upgrading RAM.
Prerequisites for Upgrading RAM
Before you add RAM to your PC, make sure to check the following things so that it becomes easy for you to select RAM depending on your PC needs:
- How much RAM do you need?
- How much RAM does your PC currently have
- Identifying compatible RAM
How much RAM do you need?
If you use your computer for everyday things like browsing the internet and doing office work, having 8 to 16 gigabytes (GB) of RAM is usually sufficient but if you’re into gaming or you do video editing, you might need 16GB or more of RAM to ensure that your computer can handle the extra demands for smooth performance.
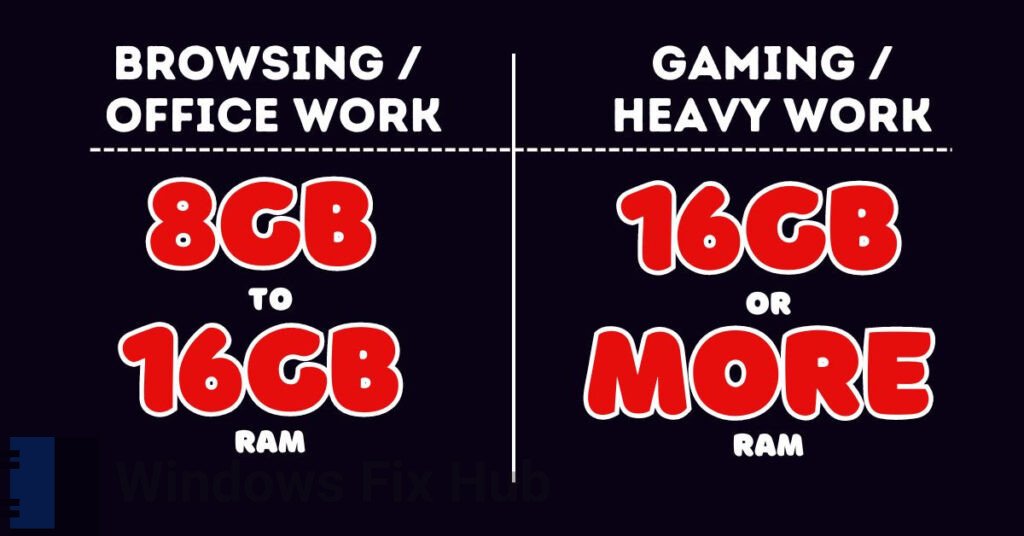
Also, consider your budget when deciding how much RAM to get. Don’t overspend if you don’t need to but if you plan to use more demanding applications later, getting a bit more RAM now might be a good idea.
How much RAM does your PC currently have
To find out how much RAM you currently have on your Windows computer, you can follow these quick steps:
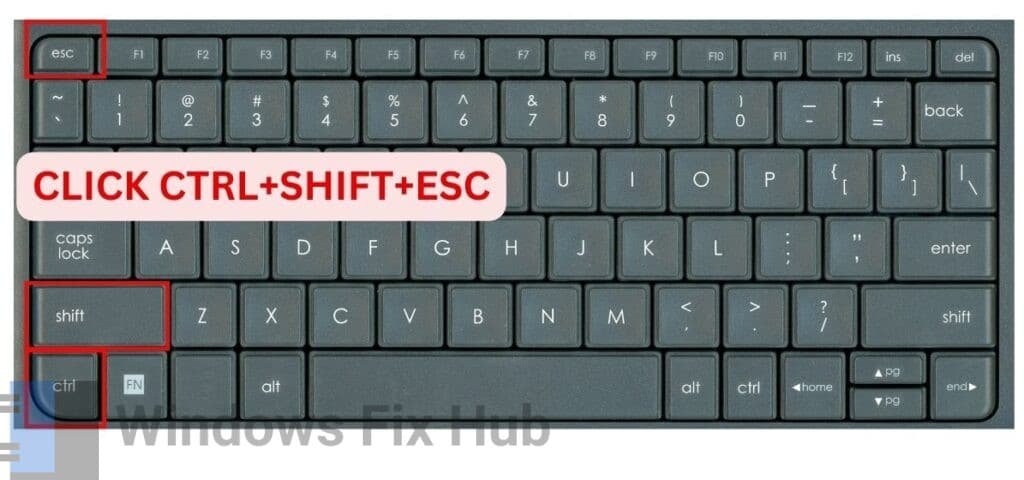
- Press ‘Ctrl + Shift + Esc’ on your keyboard to open the “Task Manager” window.
- In “Task Manager”, click on the “Performance” tab.
- Look for the “Memory” section. Here, you’ll see information about your RAM, including the total size and how much is currently in use.
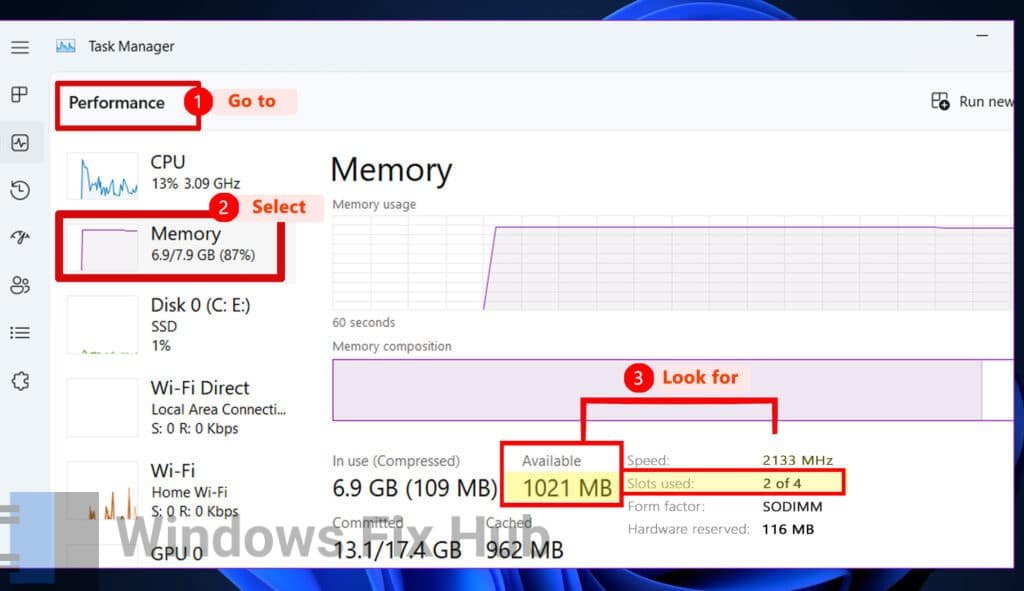
You’ll also see the number of slots in use. If you have an empty slot you can use that slot to install RAM.
Identifying Compatible RAM
Before getting into the installation process, it’s important to ensure that the RAM you purchase is compatible with your computer system.
- Check your motherboard’s manual or visit the official website.
- Look for specifications that mention the maximum RAM capacity and supported types (like DDR3 or DDR4). You must purchase the correct type as DDR3 slots won’t accept DDR4 RAM modules, and vice versa.
- Motherboards usually support 8GB, 16GB, 32GB, or more, depending on the model. Identify the maximum RAM your motherboard can handle.
- Ensure your planned RAM upgrade doesn’t exceed the maximum supported capacity mentioned in the specifications.
How to Install RAM?
Now, that we have our RAM, let’s install it on your PC. Below are the steps that you need to follow:
- Turn off your computer and let it cool down completely. Unplug all cords, cables, and accessories connected to your PC.
- To protect delicate computer components from static electricity, it is essential to ground yourself properly. You can do this by touching an unpainted metal part of your PC or wearing an anti-static wristband.

- Consult your owner’s manual for specific instructions on opening your computer’s case. You might need to unscrew it, so remember the screw placements so it becomes easy to put them back.

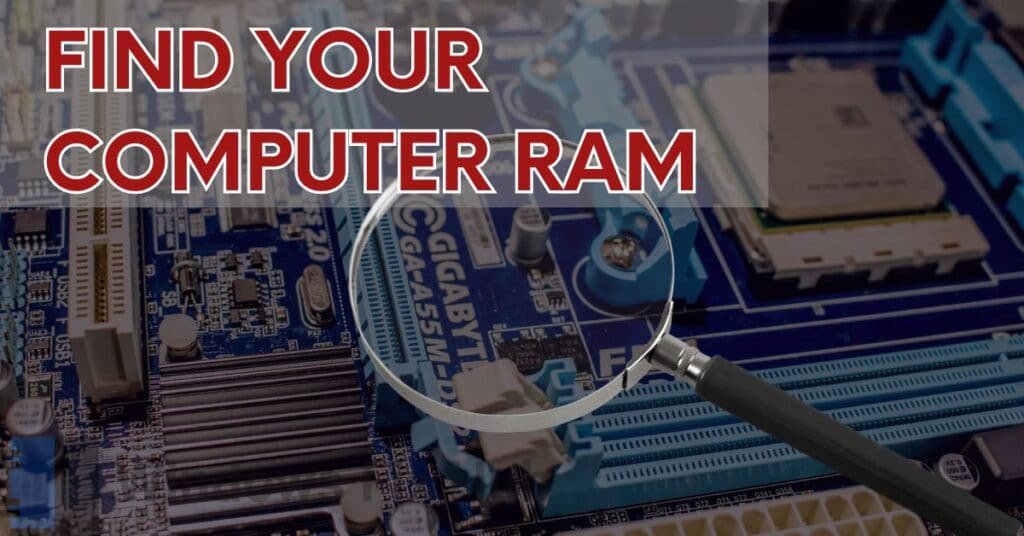
- Now, find where your RAM is located inside the computer, typically, the RAM slots are located near the CPU socket on the motherboard, but you can refer to your owner’s manual for help.
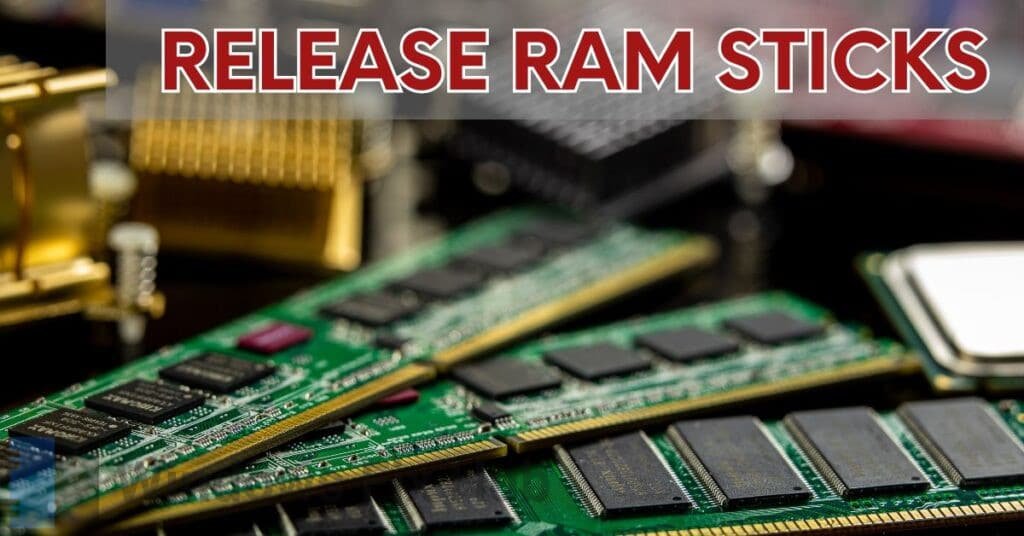
- Modern motherboards usually have clips securing RAM sticks. Release the existing RAM sticks by gently pushing the clips outward. If there are screws, unscrew them carefully.
- Hold the RAM stick by its edges, and gently pull it upward and out of the slot. Avoid touching the gold connectors.
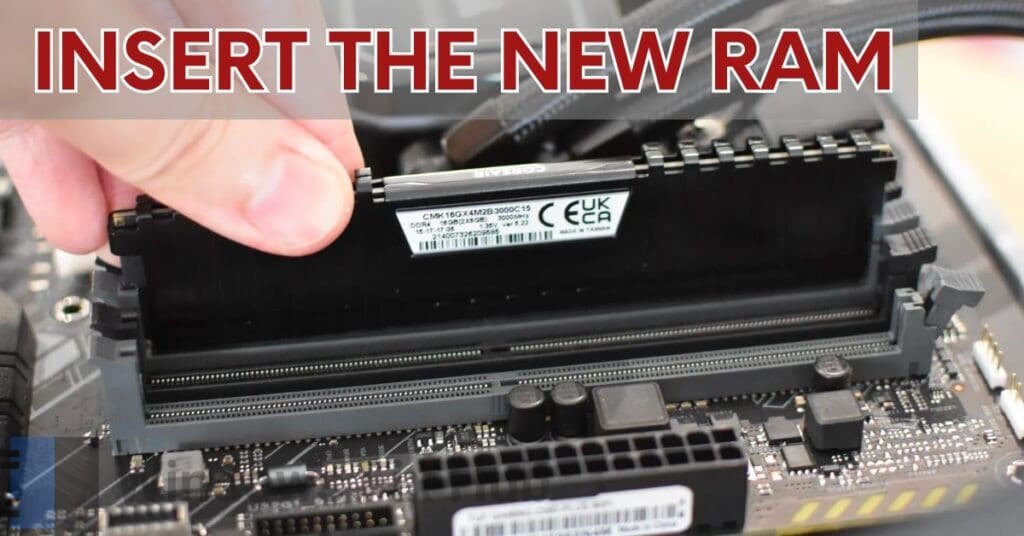
- Now, let’s insert the new RAM, observe the notch on the bottom of the new RAM module, and align it with the slot on the motherboard for the correct orientation.
- Insert it into the slot, and apply firm pressure on both ends until you hear a click. This ensures the RAM is securely in place.
- If your motherboard has clips, gently push them back until they snap in place. For screws, carefully tighten them to secure the new RAM module.
- Put the computer case back in place.
- Plug back all the cables and connectors you disconnected earlier.
By following these steps, you can successfully install the RAM on your desktop PC. It’s essential to handle the components carefully and follow safety precautions to avoid accidental damage during the process. Now, let’s verify if the RAM has been installed properly.
Verifying the RAM installation
After upgrading or installing new RAM in your computer, you need to check if your computer recognizes the added memory. Here’s a simple way to do it:
- Press ‘Ctrl+Shift+Esc’ to open “Task Manager”.
- Click on the “Performance” tab and navigate to “Memory“. You should see the upgraded RAM amount.
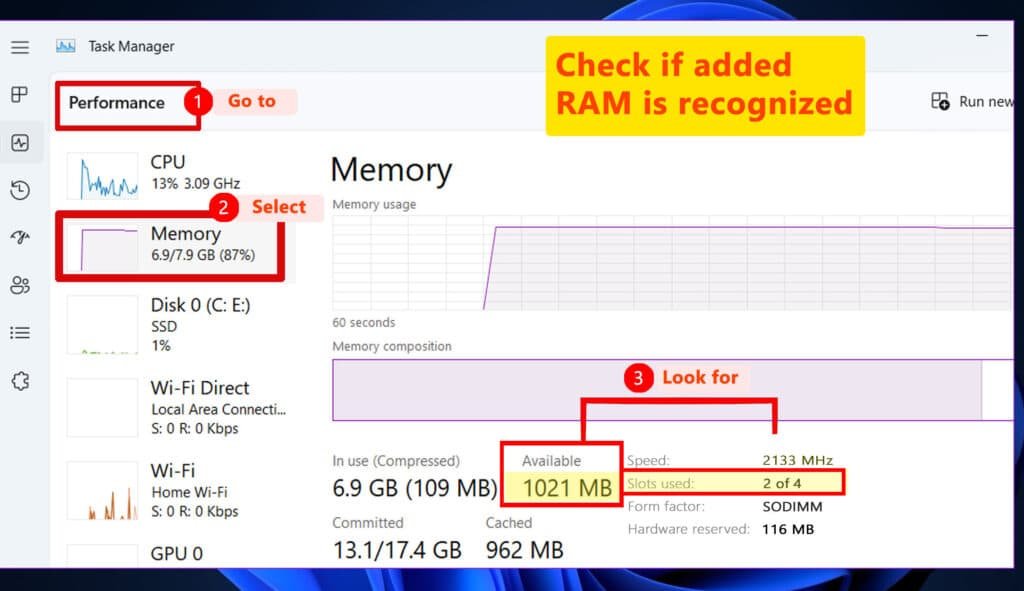
- If there are any issues or if the new RAM isn’t recognized, repeat the installation steps.
- Ensure the new sticks are correctly seated in their socket.
Once Task Manager shows the correct upgraded RAM amount, your upgrade is successful.
Troubleshooting Common Issues
While RAM installation is usually a simple process, you may encounter some issues. Here are a few common problems and their solutions:
- RAM not recognized: If your computer fails to recognize the newly installed RAM, first ensure that it is firmly seated in the slot. If the issue persists, try swapping the RAM sticks’ positions or reseating them individually to troubleshoot faulty slots or modules.
- Compatibility issues: Ensure that the RAM you purchased matches your motherboard specifications. Incompatible RAM may lead to system instability or failure to boot. Double-check the RAM’s compatibility before making a purchase.
- Reseating the RAM sticks: If you experience any system instability or unexpected behavior after upgrading your RAM, try reseating the RAM sticks. Carefully remove them and reinstall them, ensuring a secure connection.
And that’s it! You’ve successfully upgraded your PC’s RAM. If you encounter any problems, just go back through the installation steps to ensure everything is in place. We hope our guide has made the process easy for you!
iobit Advanced System Care is used by millions of users worldwide.
It’s a “must-have” for every PC or MAC user who wants:
- To fix common PC errors automatically
- To speed up their computer performance
- To fully secure their device


