Blog

  • How to Fix Bluetooth Not Working on Windows 11

    If Bluetooth does not work in Windows 11, the cause can be a disabled adapter, a driver issue, pairing data, or a Windows service. Try these steps in order.

    1. Turn Bluetooth off and back on

    1. Open Settings → Bluetooth & devices.
    2. Turn Bluetooth off.
    3. Wait a few seconds and turn it back on.
    4. Try connecting the device again.

    2. Restart the Bluetooth device

    Turn the accessory off and on, keep it close to the PC, and make sure its battery is charged. If it is already paired with another device, disconnect it there first.

    3. Check Device Manager

    1. Open Device Manager.
    2. Expand Bluetooth.
    3. Check whether the adapter is disabled or has a warning icon.
    4. Enable it or install an appropriate driver from the manufacturer’s support site.

    4. Remove and pair the device again

    1. Open Settings → Bluetooth & devices → Devices.
    2. Find the accessory and select Remove device.
    3. Put the accessory back into pairing mode.
    4. Select Add device → Bluetooth and pair it again.

    5. Restart the Bluetooth service

    1. Press Windows + R.
    2. Type services.msc and press Enter.
    3. Find Bluetooth Support Service.
    4. Restart it and try pairing again.

    Still not working?

    Test another Bluetooth device. If none work, focus on the PC adapter or driver. If only one accessory fails, focus on that accessory’s pairing and compatibility.

  • How to Fix High CPU Usage in Windows 11

    High CPU usage can make Windows feel slow and keep your fans running. The first step is to find the process using the CPU.

    1. Check CPU usage in Task Manager

    1. Press Ctrl + Shift + Esc.
    2. Open Processes.
    3. Click the CPU column to sort it.
    4. Watch for a process that stays high instead of ending it immediately.

    2. Check the app using the CPU

    If one normal application stays near the top, update it or close it and test again. Do not end Windows system processes just because they use CPU.

    3. Reduce unnecessary startup apps

    1. In Task Manager, open Startup apps.
    2. Disable programs you recognize and do not need at sign-in.
    3. Restart Windows.

    4. Scan for unwanted software

    1. Open Windows Security.
    2. Run a scan.
    3. Review detections before taking action.

    5. Check temperatures and cooling

    If CPU usage is normal but temperatures remain high, check airflow, dust, and cooling. High temperature is not always caused by high CPU usage.

    Still high?

    Identify whether the CPU load comes from Windows, one app, a background service, or security software. Changing one thing at a time makes the cause easier to identify.

  • How to Fix Windows 11 Blue Screen Errors

    How to Fix Windows 11 Blue Screen Errors

    A blue screen in Windows 11 is a symptom, not a diagnosis. Start with the easiest checks and use the stop code to narrow down the cause.

    1. Write down the stop code

    1. Note the exact stop code shown on the blue screen.
    2. Note what you were doing immediately before the crash.
    3. Look for a repeated pattern, such as a specific app, device, or driver.

    2. Install pending Windows updates

    1. Open Settings → Windows Update.
    2. Install available updates.
    3. Restart the PC.

    3. Check Reliability Monitor

    1. Search Windows for Reliability Monitor.
    2. Open View reliability history.
    3. Look at red X entries around the time of the crash.
    4. Note repeated application, driver, or hardware failures.

    4. Repair system files

    1. Open Windows Terminal (Administrator).
    2. Run DISM /Online /Cleanup-Image /RestoreHealth.
    3. When it finishes, run sfc /scannow.
    4. Restart Windows.

    5. Check recent drivers or hardware changes

    If crashes began after a driver update, new device, memory change, or other hardware change, test that change first. Prefer drivers from the PC or component manufacturer’s official support site.

    6. Use Safe Mode when Windows will not stay stable

    If normal Windows is repeatedly crashing, use Windows Recovery options to start in Safe Mode and remove or roll back the recent change. Avoid deleting system files or drivers at random.

    Still getting blue screens?

    Keep the stop code and crash timing. Those details are much more useful for identifying the underlying problem than repeatedly reinstalling every driver.

  • How to Fix Wi-Fi Connected but No Internet on Windows

    How to Fix Wi-Fi Connected but No Internet on Windows

    If Windows says you are connected but you cannot open websites or apps online, work through these steps in order.

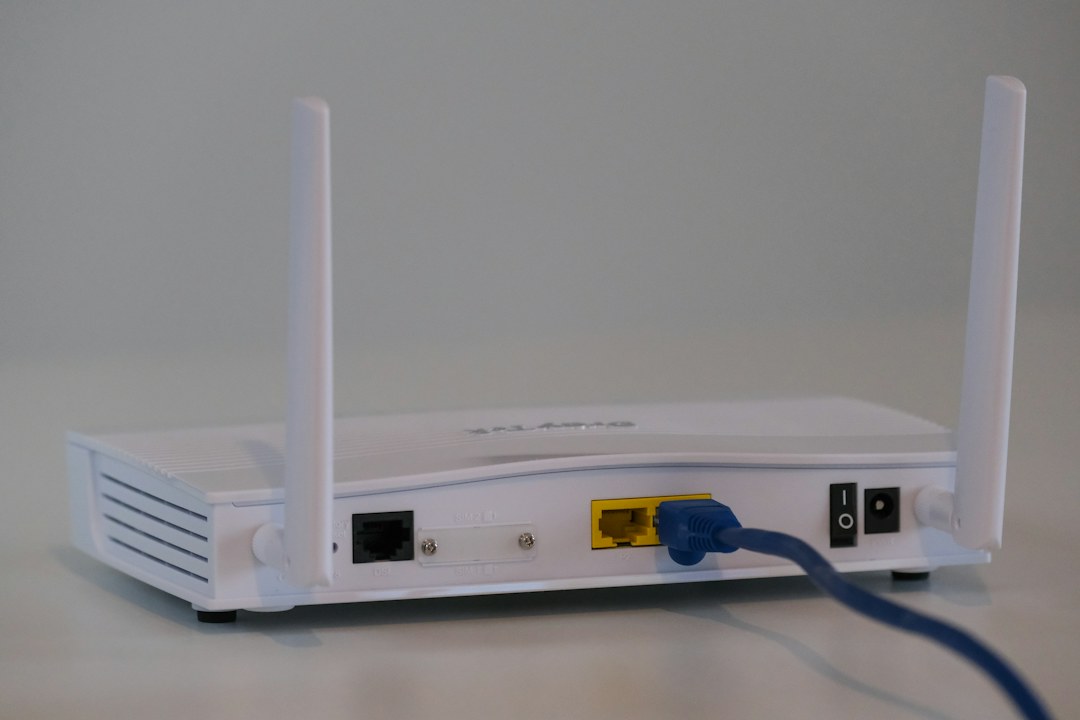
    1. Restart your router and PC

    1. Disconnect power from the router for about 30 seconds.
    2. Reconnect it and wait for the connection lights to stabilize.
    3. Restart your Windows PC.
    4. Test the connection again.

    2. Check whether the problem affects other devices

    Try another phone or computer on the same network. If every device is offline, the issue may be with the router or internet service rather than Windows.

    3. Forget and reconnect to Wi-Fi

    1. Open Settings → Network & internet → Wi-Fi.
    2. Open Manage known networks.
    3. Select your network and choose Forget.
    4. Reconnect and enter the Wi-Fi password.

    4. Restart the network adapter

    1. Open Device Manager.
    2. Expand Network adapters.
    3. Right-click the Wi-Fi adapter and choose Disable device.
    4. Wait a few seconds, then enable it again.

    5. Reset TCP/IP and DNS

    1. Open Windows Terminal (Administrator).
    2. Run ipconfig /flushdns.
    3. Run netsh winsock reset.
    4. Restart Windows.

    6. Use Network reset as a last step

    1. Open Settings → Network & internet → Advanced network settings → Network reset.
    2. Read the warning first.
    3. Select Reset now if you are comfortable reconnecting your network devices afterward.

    Still no internet?

    Check the adapter status, router status, and whether other devices have internet. This helps separate a Windows issue from a network or ISP problem.

  • How to Fix a Slow Windows 11 PC

    How to Fix a Slow Windows 11 PC

    A slow Windows 11 PC can have several causes. Start with the quick checks below and work down the list until performance improves.

    1. Check what is using CPU, memory, and disk

    1. Press Ctrl + Shift + Esc to open Task Manager.
    2. On Processes, sort by CPU, Memory, and Disk.
    3. Look for an app that stays unusually high for several minutes.
    4. Close only programs you recognize and do not need.

    2. Reduce unnecessary startup apps

    1. Open Task Manager → Startup apps.
    2. Sort by Startup impact.
    3. Disable apps you recognize but do not need to launch automatically.
    4. Restart Windows and test again.

    3. Free up storage space

    1. Open Settings → System → Storage.
    2. Review temporary files and large categories.
    3. Remove files you no longer need.
    4. Keep enough free space for Windows and your applications.

    4. Install Windows and driver updates

    1. Open Settings → Windows Update.
    2. Install available updates.
    3. Check your PC or hardware manufacturer’s support page for important driver updates.
    4. Restart the PC.

    5. Check for unwanted software

    1. Open Windows Security.
    2. Run a scan.
    3. Review any detections before removing software.

    6. Repair system files

    1. Open Windows Terminal (Administrator).
    2. Run DISM /Online /Cleanup-Image /RestoreHealth.
    3. Then run sfc /scannow.
    4. Restart Windows.

    Still slow?

    Check whether the slowdown happens only in one app or across Windows. That distinction can help narrow down whether the problem is the application, storage, memory, drivers, or Windows itself.

  • How to Fix Windows Update Stuck or Failing

    Windows Update can get stuck, fail with an error, or keep retrying. Work through these methods in order and stop when the update installs normally.

    1. Restart your PC and check for updates

    1. Save your work and restart Windows.
    2. Open Settings → Windows Update.
    3. Click Check for updates.
    4. Install any pending updates and restart again.

    2. Run the Windows Update troubleshooter

    1. Open Settings → System → Troubleshoot → Other troubleshooters.
    2. Find Windows Update.
    3. Select Run and follow the recommendations.
    4. Restart the PC and try the update again.

    3. Make sure you have enough free space

    1. Open Settings → System → Storage.
    2. Check how much free space is available on the Windows drive.
    3. Remove temporary files you no longer need.
    4. Retry Windows Update.

    4. Repair Windows system files

    1. Open Windows Terminal (Administrator).
    2. Run DISM /Online /Cleanup-Image /RestoreHealth and wait for it to finish.
    3. Run sfc /scannow.
    4. Restart Windows and try the update again.

    5. Check whether a recent driver or security product is interfering

    Think about what changed just before the failures started. Update drivers from the hardware manufacturer’s official site and temporarily remove only software that you know is incompatible with the update.

    Still stuck?

    Write down the exact Windows Update error code before trying advanced recovery steps. The code can point to a more specific fix.